|
|
|||||
 |
|||
|
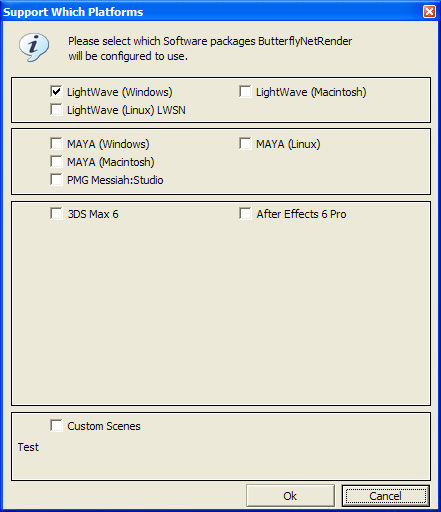
(Optional) If you are upgrading from ButterflyNetRender 3 - You you can select the 'bcontrol.cfg' file to read all the render settings that are already set. |
|||
 |
|||||||||||||||||||||
|
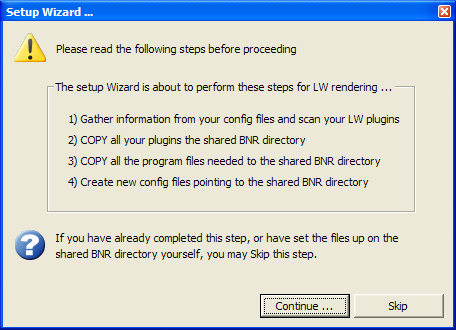
If you selected LightWave, then ButterflyNetRender will prompt if you want to use the Automatic LW
Plugin/Configure setup: |
|||||||||||||||||||||
 |
|||||||||||||||||||||
|
If you Select Skip, ButterflyNetRender will go right to the Configure Platform Paths Dialog box, otherwise it
will prompt for the 'Root' Directories' of the Local version of LightWave and the Network Path. - And Configure the LightWave system. |
|||||||||||||||||||||
 |
|||||||||||||||||||||
|
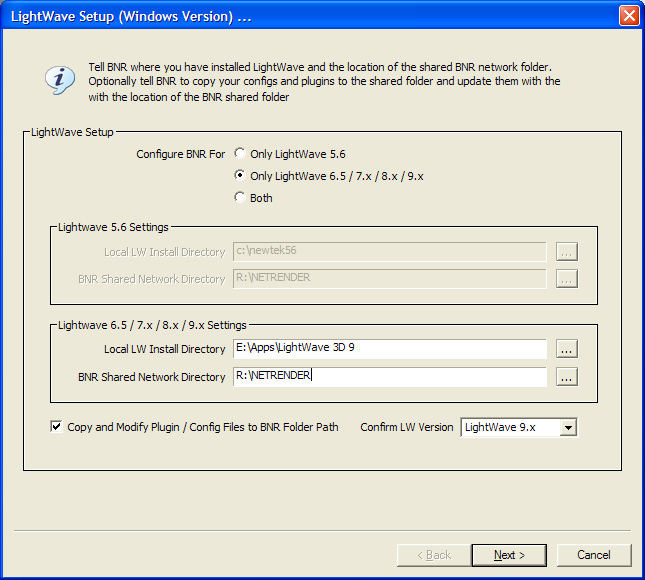
Now set up the paths to the Lightwave folder and network/shared content location. |
|||||||||||||||||||||
|
NOTE: Make sure the 'BNR Shared Network Directory' is already created on a File Server and that this folder will be accessible by all the RenderNodes. |
|||||||||||||||||||||
 |
|||||||||||||||||||||
|
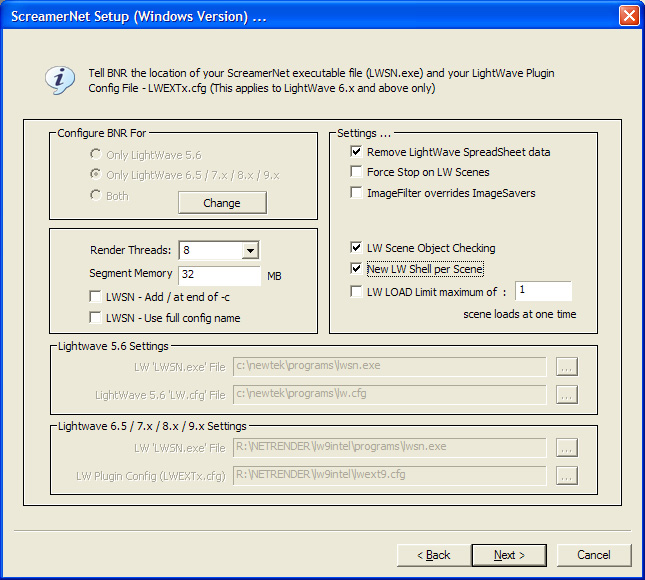
Now Confirm the directories where the LightWave Programs and LightWave cfg files are located. |
|||||||||||||||||||||
 |
|
Next all the LightWave plugins will be copied. |
|||||||||||||||||||||||
 |
|||||||||||||||||||||||
|
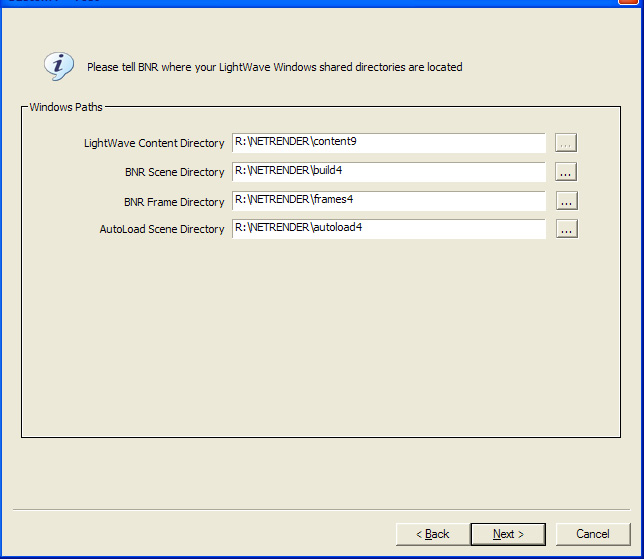
Now you can confirm the Paths the Wizard created are correct. |
|||||||||||||||||||||||
|
NOTE: After This Screen - If you have Selected the Linux and/or OSX clients - ButterflyNetRender will prompt for the Lightwave CFG files for these system. Use the cfg files you copied from the Lightwave Installs on these systems. |
|||||||||||||||||||||||
 |
|||||||||||||||||||||||
|
Next set up the shared directories, again make sure these are specified as full network address. |
|||||||||||||||||||||||
|
NOTE: If you have selected Maya or other Render types, then after this screen you will also see dialog boxes to configure these platforms also. |
|||||||||||||||||||||||
 |
|||||||||||||||||||||||
|
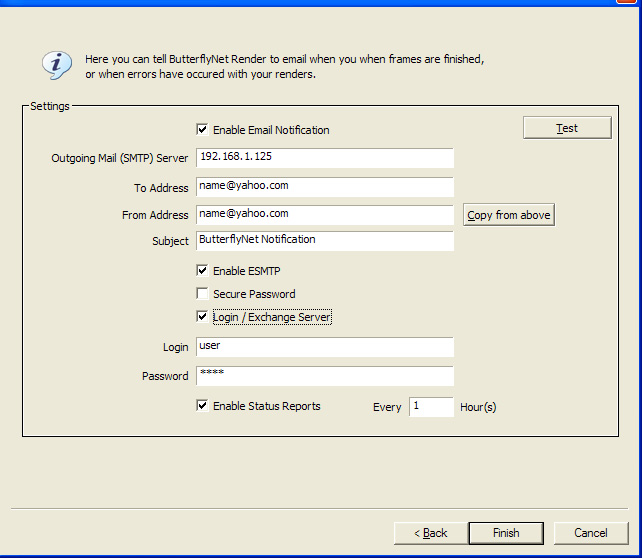
E-mail set up. Ensure you use the SMTP address that your e-mail system uses. Enable Status Reports - The report lists basic render node and scene information. |
|||||||||||||||||||||||
 |
|||||||||||||||||||||||
|
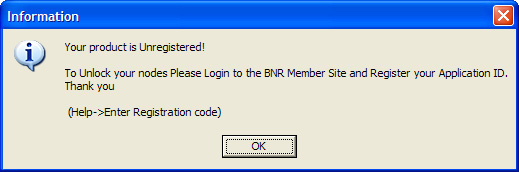
After you Install - You will see the Registration Message Please Find the unique "Application ID" in the "Help->Enter Registration Code" menu. |
|||||||||||||||||||||||